
 87
87
SinglePoint Settings has many features and options you can use to customize or change your SinglePoint Rating (referred to in these articles as SPR) experience.
Please use this guide, as well as the accompanying links to help you get the most from SPR.
*REMINDER - You MUST be a SinglePoint manager in order to make changes to certain areas of SinglePoint settings. If you are not a manager and do not know who is, please ask your office manager.
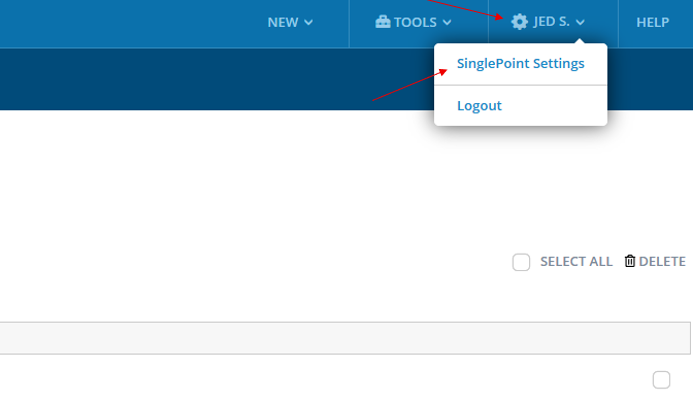
To get to your SP settings, please start by clicking on your name, in the top right of the SPR screen, to the left of the Help menu. Then click on SinglePoint Settings.
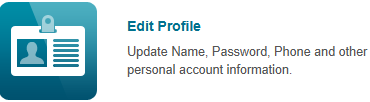
Next, depending on your role within the agency, you will see either this screen as an employee:

Or this screen if you are a SP manager:
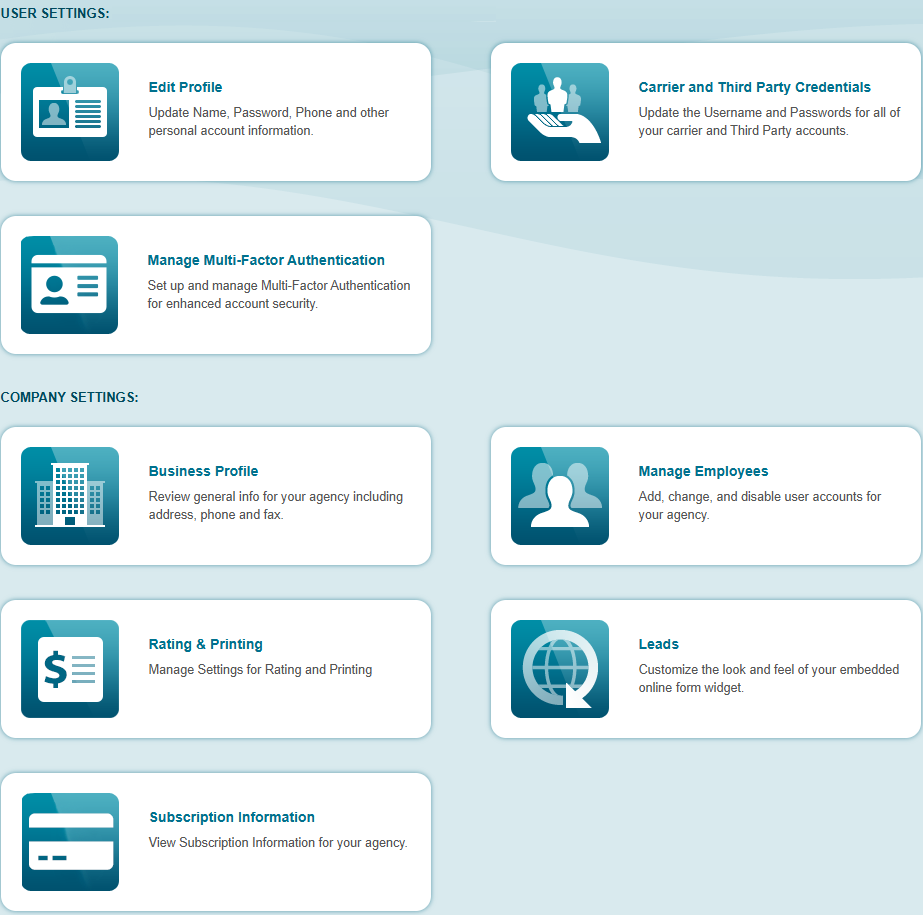
Now that we are in SinglePoint Settings, click a box below for more info on that section.